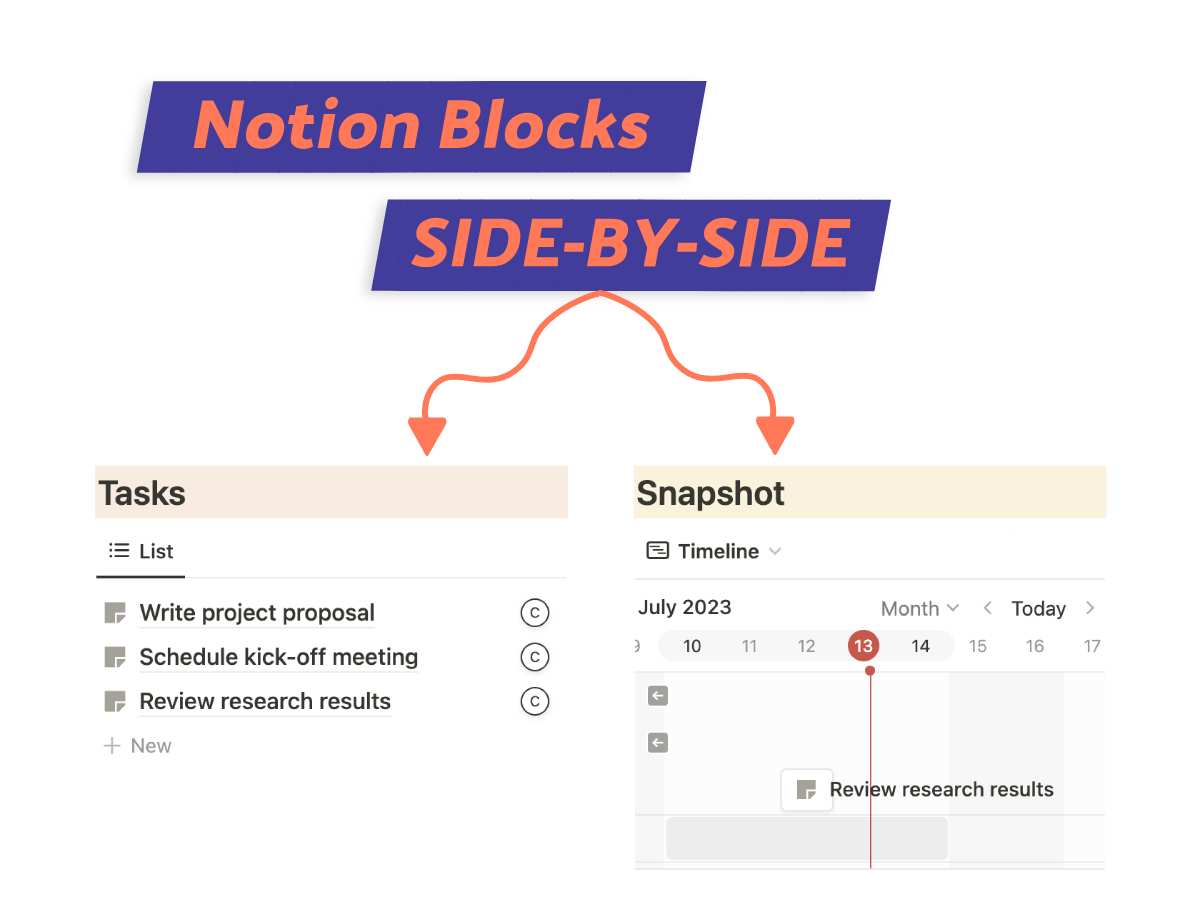
Placing Notion blocks side by side sounds a lot easier than it really is, doesn’t it? You have to line them up just right and even then it still ends up looking like a mess!
In this post, I’ll show you how to get a hang of it and turn your workspace into an organized and visually beautiful hub. It might seem a bit tricky at first, but believe me, once you mastered it, even Marie Kondo would be proud.
What We Will Cover
How Notion Blocks Actually Work
In Notion, every piece of content you create or insert is considered a ‘block.’ Blocks are the foundation of every Notion page.
Each time you add a text, an image, a to-do list, or a link, you’re creating a block.
The beauty of Notion blocks is their flexibility. You can move them around, rearrange them, and customize them to your heart’s content. You can even nest them under each other, or even turn one type into another.
Understanding what blocks are and how it works is the first step to designing your pages.
Notion Blocks Side By Side Using Columns
The trick to getting blocks side-by-side in Notion is as simple as using columns to organize your layouts.
In the following steps, I’ll guide you through placing blocks next to each other using columns, populating them with content, and sprucing them up for a clean, appealing look.
Let’s start putting your Notion pages in order.
Step 1: Add a 2-Column Block

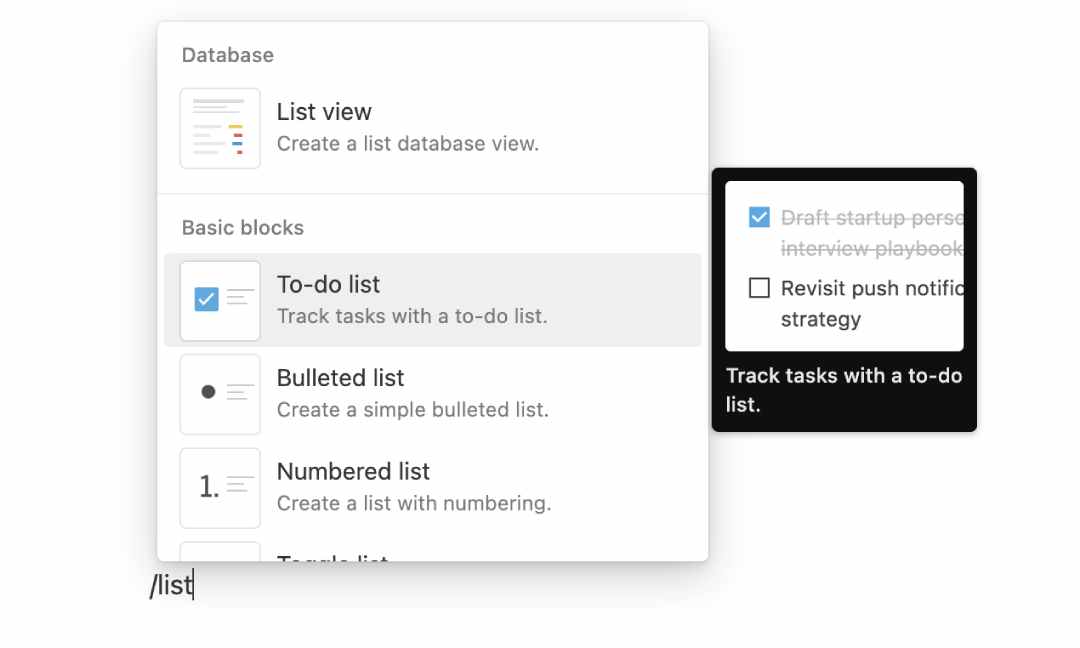
Starting off, we’ll add the 2-column block in Notion. You can do this by typing /column which pulls up block options.
Alternatively, click on the ‘+‘ icon to see a list of blocks. Just search for the 2-column block option.
Step 2: Add the First Block
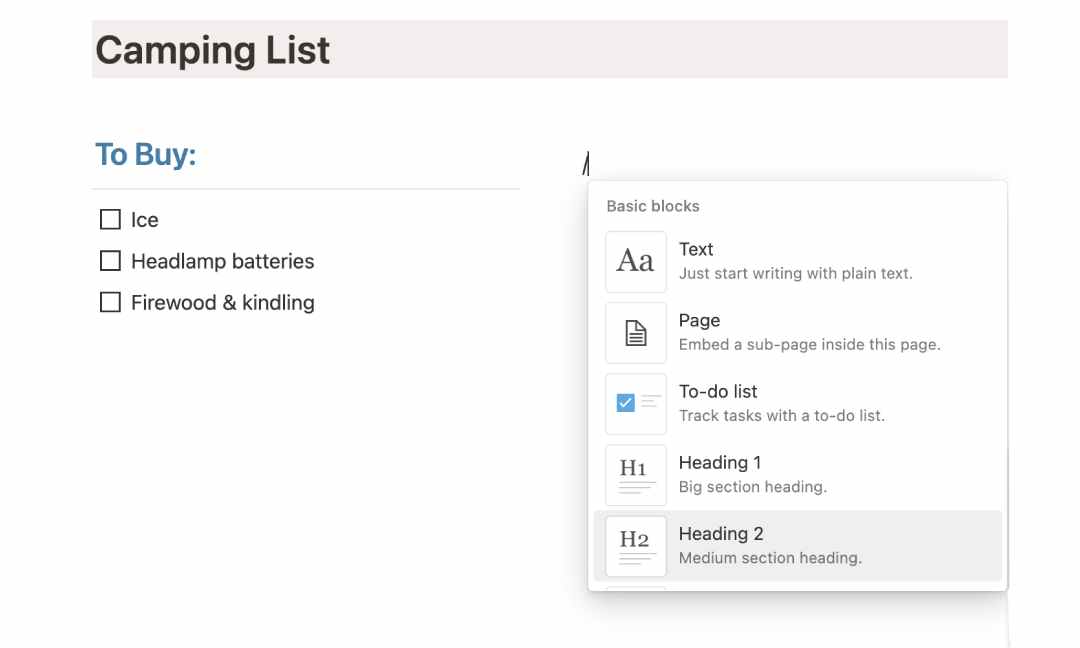
Now let’s add the first block in the first column on Notion.
Hover over to the column on your left, click the ‘+’, and pick any block you fancy for example images, tables, or even animations. Add your content. Feel free to add more content on the second line too!
Step 3: Add the Next Block
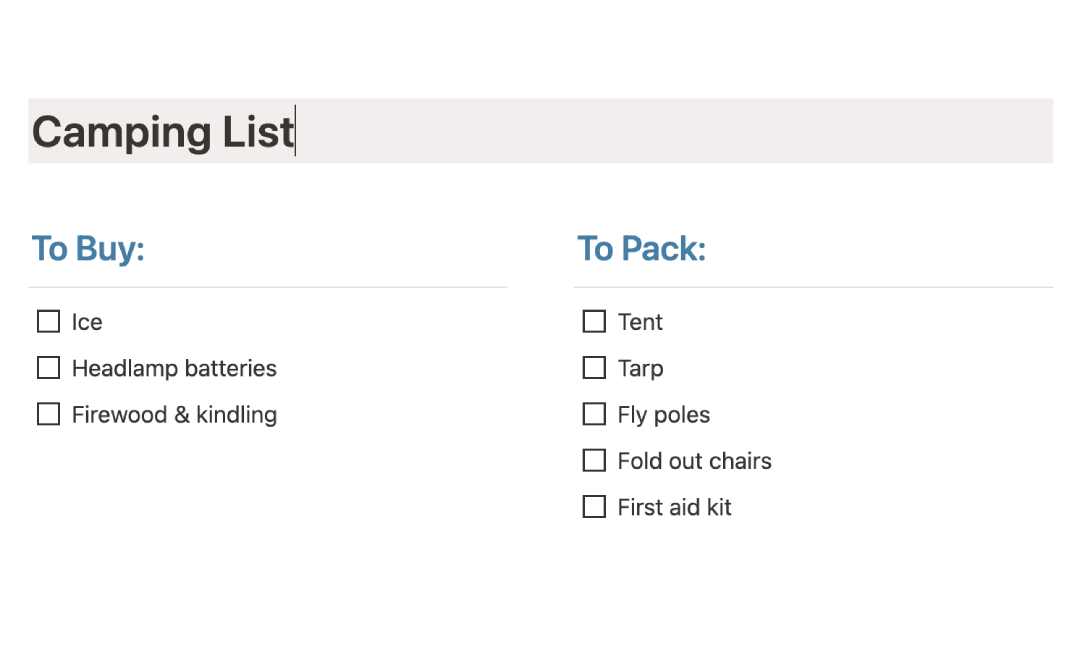
Repeat the same steps with the column on your right to add the second block.
Congrats, you now have 2 Notion blocks side by side. Pretty simple so far.
Step 4: Add Styling
If you’re like me then you’d want to liven up your blocks.
By adding a splash of color, inserting dividers, and using headers, it’s now more visually engaging and easier to read. The blocks aren’t just functional, they’re an aesthetic treat too!
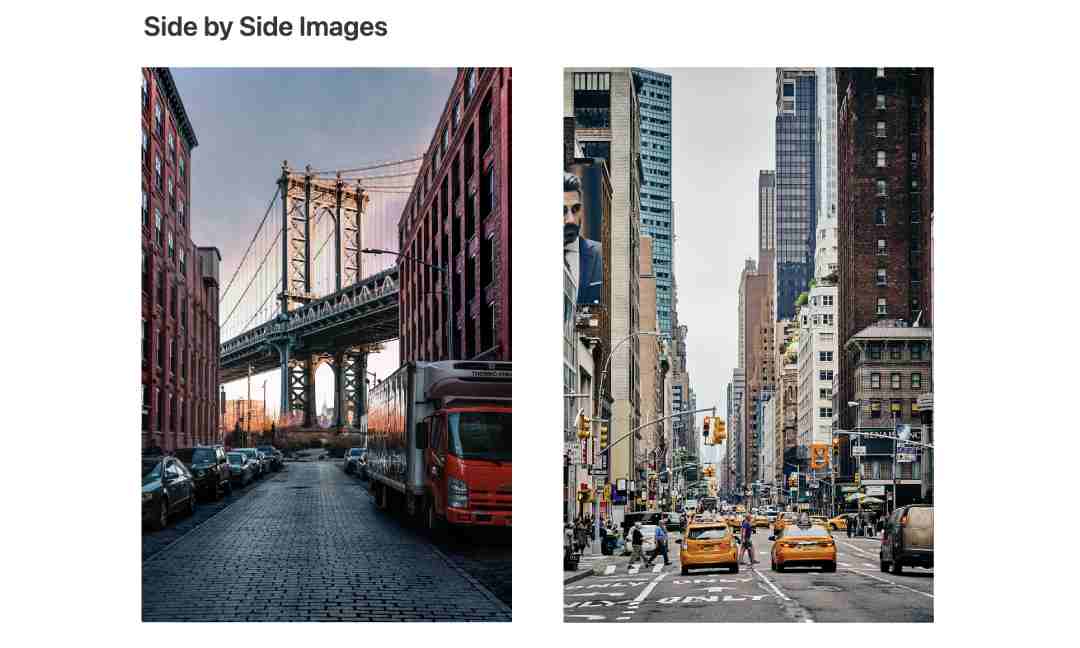
How to Place Images Side by Side
You’ve now learned how to arrange Notion blocks side by side using columns, but what about images?
The process is somewhat similar and perhaps even simpler! Interestingly, you don’t even need to use a column for this. With just a handful of tips, I’ll show you how to enhance your Notion workspace visually.
Step 1. Add the First Image
First things first, let’s add your initial image. Click the ‘+‘ button on a new line, and a menu will appear. Locate and select ‘Image‘.
Now is the time to upload your image. However, if you want both images to match, hold off on resizing it for the moment.
Step 2. Add the Second Image
Next, we’ll add the second image. Follow the same steps you used for the first image.
Here’s a useful tip: try to use images of the same size for a cleaner look. Keep it simple and consistent, just like you’re telling a visual story!
Step 3. Drag the Second Image Into Position
Now, it’s time to move the second image into position. Hover your cursor over the six dots on your second image block.
See that blue vertical line? That’s our marker.
Carefully drag your image next to the first one. Once the blue line reappears, release it. Your images are now sitting side by side.
HOW-TO: Use Gallery View To Make Your Images Pop!
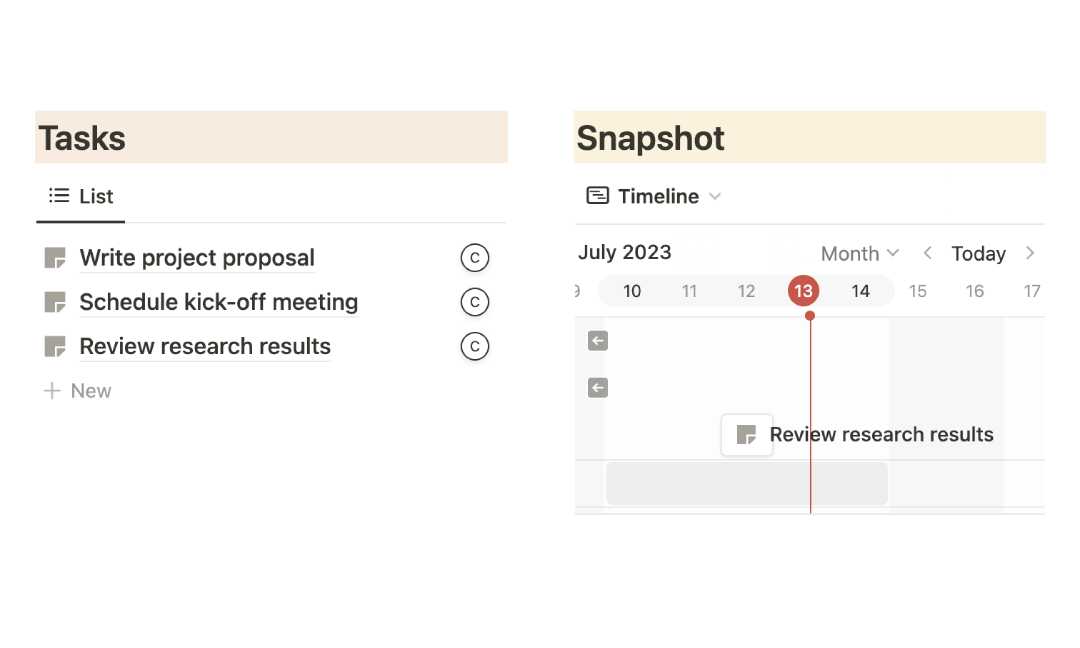
How to Place Databases Side by Side
Looking to line up databases side by side in Notion with columns? While I generally caution against it because it can quickly become a cluttered mess, sometimes you’ve just got to do it.
If you’re determined to proceed, here are the steps to guide you.
Step 1. Add a 2-Column Block
We’re going to utilize a 2-column layout, much like the side-by-side block placement.
To do this, add a 2-column block on a new line by typing /column or by finding it in the block list. You can opt for 3 or even 4 columns, but beware, it might get a bit overwhelming.
Step 2. Insert the First Database
Moving on to step 2 – adding your first Notion database to this side-by-side layout.
Simply hover over to the first column and click on the ‘+’ symbol. From here, you can either create a new database or utilize an existing one. It should fit nicely in the first column.
Step 3. Insert the Second Database
Finally, it’s time to add your second database! Follow the steps you used to insert the first one.
If you’re creating a new database, try to keep it simple to prevent the amount of data from becoming overwhelming.
Pro-Tips When Using Side-by-Side Blocks
Alright, Notion side-by-side blocks are pretty useful, but how do we level them up even more?
From perfecting column widths to adding a bit of sparkle with aesthetics, there’s more to this feature than meets the eye.
Let’s explore a few tips to elevate your side-by-side blocks and turn your workspace into an organized, visually pleasing domain.
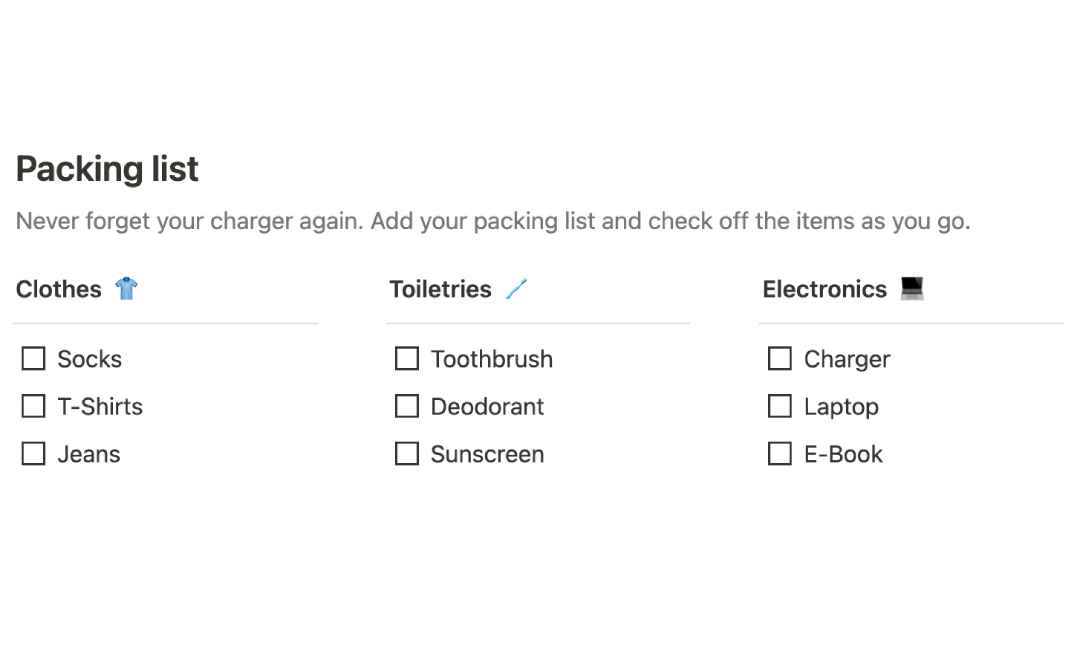
1. Use Multi-Column Layouts
Just because you’re putting blocks side by side doesn’t mean you’re stuck with the same old 2 columns. You can always use multi-column layouts. They are a great way to view and compare different pieces of information, such as product features or pricing plans.
To add a new column, hover your cursor to the right of an existing block until you see a blue vertical line. Click on it, and you’ve got a new column.
Remember, you can add as many columns as you need. Just be cautious that adding too many can make your layout more complex and potentially harder to navigate.
2. Adjust Column Width
This may seem obvious, but when working with side-by-side blocks in Notion, adjusting the column width can truly elevate the presentation of your content.
By simply clicking and dragging the edge of a block, you’re able to distribute your content more evenly, steering clear of the unappealing, squished look.
This results in a neat, balanced, and well-structured workspace – no more awkwardly large or crammed columns.
3. Combine Different Block Types
Here’s something many people overlook when creating side-by-side blocks in Notion: combining different block types. Sure, uniform content gives a clean look, but don’t shy away from changing it up a bit.
A mix of text, images, and databases in a single line can make your data pop.
The only rule here is to present the information well, so feel free to experiment and find what works best for your needs.
HOW-TO: Add Multiple Tables In Notion (On a Single Page)
4. Make It Look Good
A common pitfall when creating side-by-side blocks in Notion is underestimating the impact of aesthetics.
Your blocks don’t have to be dull! By mindfully arranging these blocks and effectively using the white space, you can create visually pleasing layouts.
Don’t forget the little details either. Adding dividers, spacers, or a splash of background color can make a world of difference.
Remember, the goal is to make your content easy on the eyes, enhancing the overall user experience.
Advanced Block Techniques
Want even more insights on enhancing your Notion side-by-side blocks? Well, good news! I’ve got three advanced techniques ready to share.
Be it embedding files for a richer content experience, nesting blocks for complex layouts, or using toggle lists for a tidier workspace, they can transform your Notion pages in impressive ways.
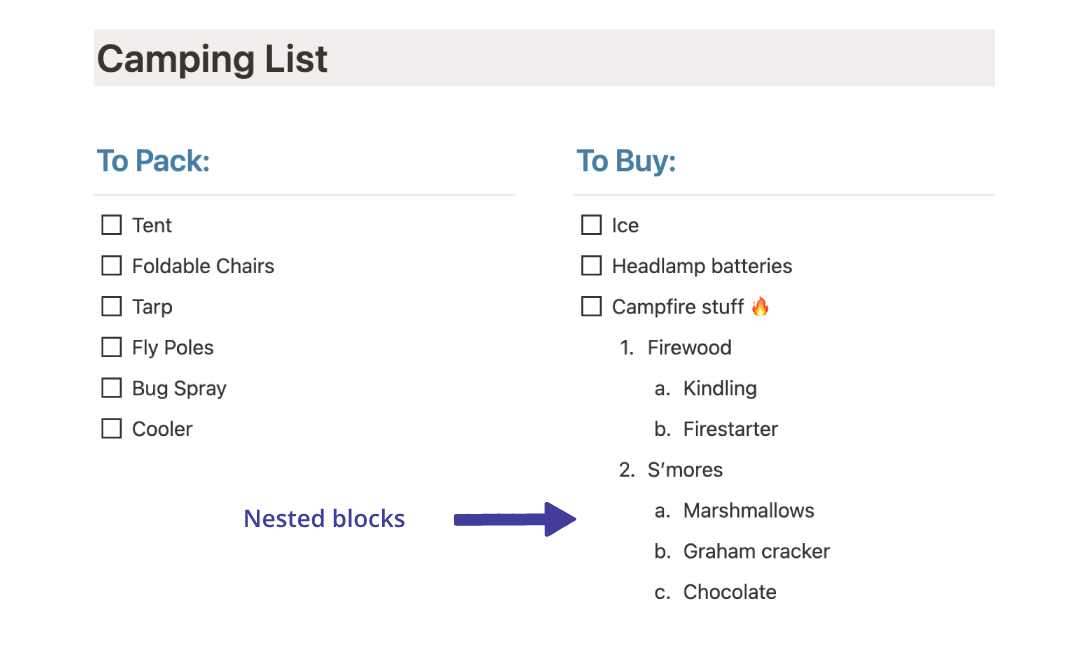
Nest Blocks
Nested blocks are essentially blocks within blocks. They’re your go-to for organizing content hierarchically, creating detailed, visually rich layouts.
To create a nested block, all you need to do is drag and drop a block onto another. You can nest text within text, lists within lists, or even images within text blocks.
But, let’s be mindful. Heavily nested structures can get complex and tricky to navigate if not carefully organized. Always keep your nested blocks neat and straightforward.
Embed Files
Here’s a handy trick for your side-by-side blocks – you can also embed files(1).
This feature allows you to incorporate a variety of content types – such as maps, videos, Google Docs, tweets, and more – directly into your Notion blocks. I frequently use this feature to embed resources in my Notion SOPs.
Click on the ‘+‘ icon, choose ‘Embed‘ from the dropdown, and paste the URL of your content. You can even resize and reposition your embedded files to fit your layout perfectly.
The best part? Side-by-side embedded files can create an excellent resource hub, compiling all sorts of information in one accessible location.
FREE: Get Started With These 3 FREE Notion SOP Templates
Use Toggles
My final tip is to use the power of toggle lists! Toggle lists allow you to hide content under collapsible headers, resulting in cleaner, more streamlined pages.
Remember when I mentioned the risk of being overwhelmed by too much information in your Notion blocks? Toggles are your answer!
Select ‘Toggle list’ from the block menu. Place your content within the toggle, and it can be hidden or revealed with a single click. Just click and your content neatly tucked away until you need it.
Conclusion
The art of placing Notion blocks side by side can seem a little challenging at first. But with a solid understanding of how blocks work, practical steps, and some handy pro tips, you can turn your Notion pages into an organized treat.
Keep practicing and experimenting with your layouts, and you’re on your way to creating aesthetically pleasing pages.
Before writing an article, we carefully research each topic and only share information from reputable sources and trusted publications. Here is a list of the sources used in this article: