Deleting a database in Notion can seem like a scary thing to do, especially when you’re concerned about losing valuable data. That’s why I’ve created this guide. I’ll walk you through how to delete a database in Notion, and even suggest alternatives to deletion.
Whether you’re new to Notion or a seasoned user, I’m confident this guide will help you manage your databases safely and efficiently. Let’s get started!
What We Will Cover
What Happens When You Delete A Notion Database
Deleting a Notion database may seem like a significant step, but hold on, it’s not the end of the line. Rather than erasing it for good, Notion relocates the deleted data to a ‘trash’ section.
Accidental deletion? Not to worry. I’ll show you how to recover it from your trash.
It’s crucial to remember that after 30 days, this temporary haven expires, and the data is permanently deleted. Think of this a grace period to decide whether it’s a final goodbye or a rescue mission.
Consider This Before Deleting Your Database
I’ve seen many users who later wish they hadn’t hit that delete button. They underestimate its significant impact before decisively clicking ‘delete
So, before you go ahead and delete your Notion Database, let me help you avoid some trouble by sharing four important considerations to think about.
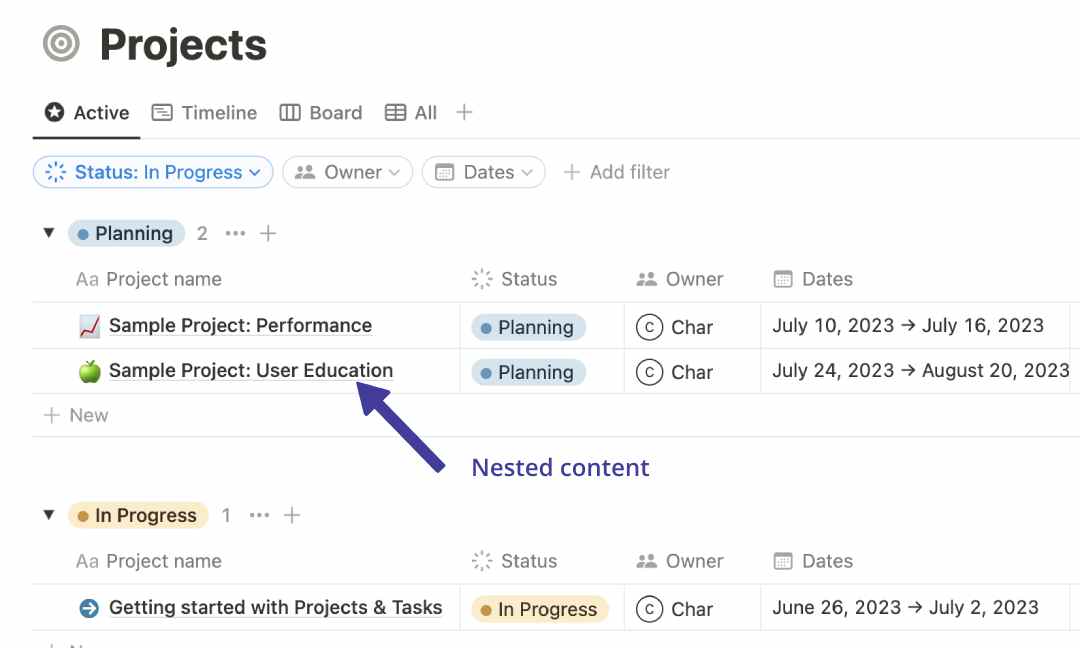
1. Nested Pages & Content
Before you say goodbye to your Notion Database, pause for a moment. Hidden within your database may lie nested pages – yes, those small sub-pages that remain unseen until you dig deeper.
When you delete the database, this entire structure, including the nested content, will be eliminated. This is not simply about removing a single page; it’s about the potential loss of an interconnected network of content.
Therefore, consider carefully. Are you prepared to erase everything? This often-overlooked step is essential to preserving your content.
2. Impact On Relational Databases
One thing that you need to bear in mind before deleting your database is its connection to other databases. This is where relational databases come into play.
There are databases where properties and data types may be related to each other; these relations help structure the data.
If your Notion Database forms a part of such a connected system, its deletion could trigger a chain reaction, disrupting your entire workflow.
Always ensure you check for connections before pressing delete!
3. Links To The Database
Prior to deleting your Notion Database, don’t forget about the links! They might seem inconsequential but are in fact significant.
Your database could have incoming links, tags, or mentions from other pages, such as a Table of Contents or other projects. Overlooking these could result in broken links, causing unnecessary confusion.
To avoid this, always unlink these references before deletion.
4. Shared Access
Lastly, an important consideration always overlooked are shared databases.
All team members will lose access instantaneously, and if it’s a public database like a knowledge base, all users will lose access too. This could create challenges for those who rely on this database. I learned this the hard way.
Alert everyone before going straight to the delete button. Remember, once deleted, it’s irreversible.
Contemplate the potential implications and plan accordingly. A simple preventive measure can save a slew of future headaches.
YOU MAY LIKE: Ultimate Cheat Sheet For Notion Sharing Options
How to Delete a Database in Notion
If you’ve considered the risks above and still want to delete your Notion database, let’s proceed to the next steps.
It starts with the type of database you’re trying to wipe. Are you trying to delete an in-line or full-page database? Different methods are available for each.
Don’t fret, I’ve got you covered on both fronts.
How to Delete In-Line Notion Databases
Step 1: Find In-Line Database
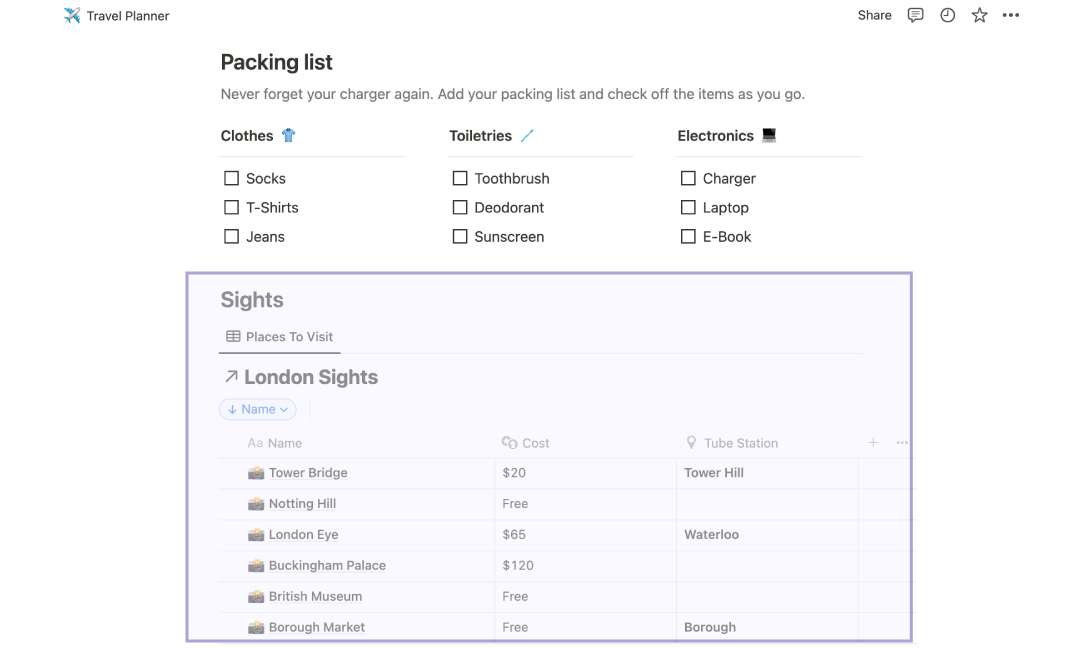
On your sidebar, navigate to the Notion page where your in-line database is located.
It’s usually embedded in a top-level page among notes or tasks. Look for a grid-like structure with rows and columns.
Step 2: Edit View
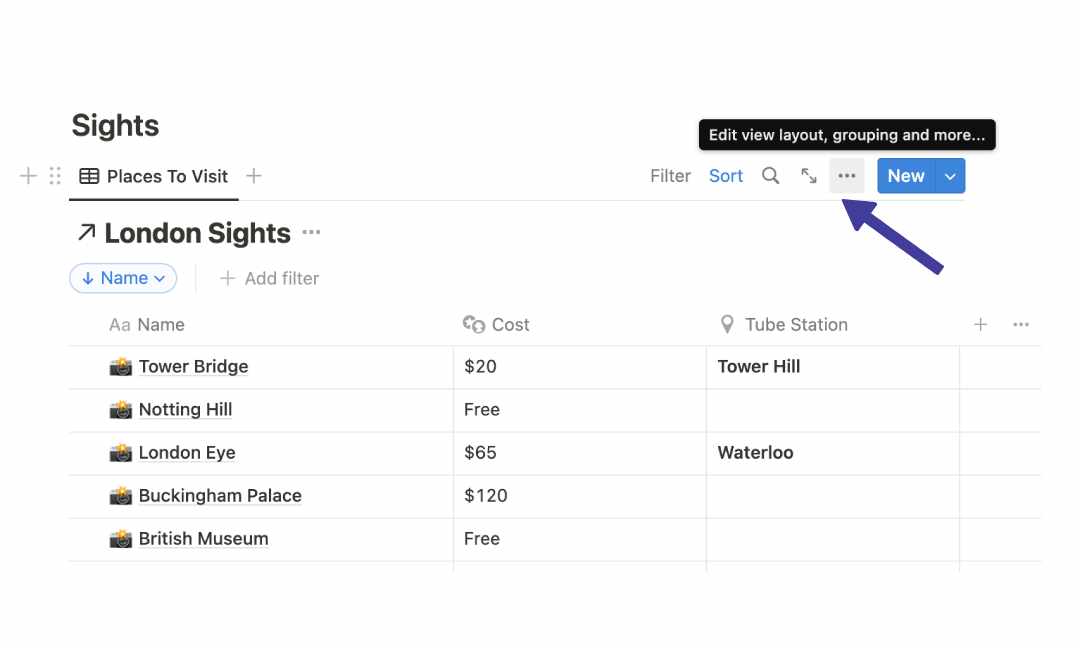
Once you’ve located it, hover your mouse over the top-right corner of the database.
See that ‘…’ icon popping up next to the ‘New’ button? Click on it.
Step 3: Delete View
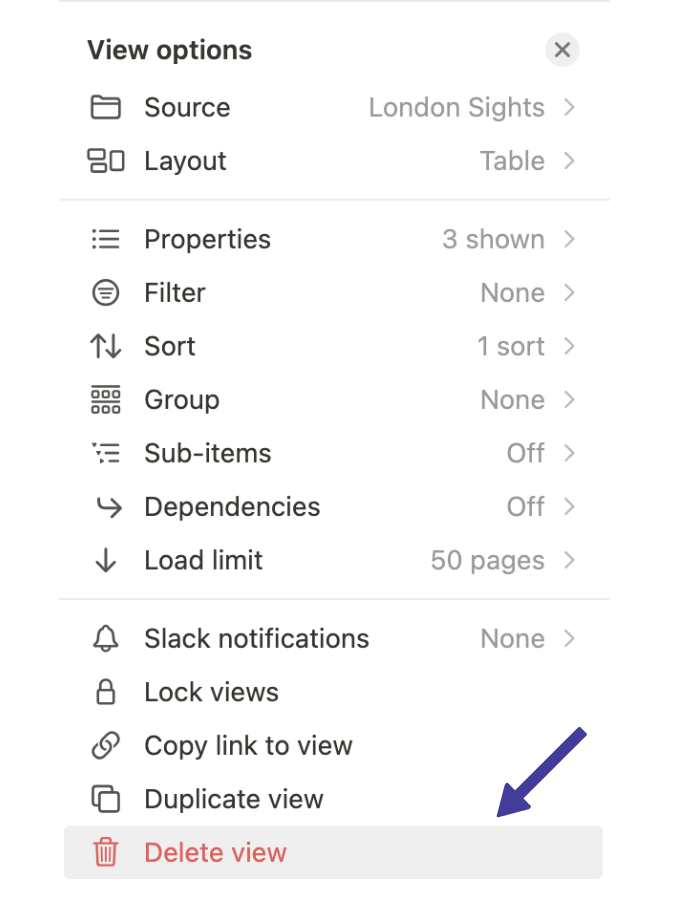
This opens up a drop-down menu, filled with options. Here, we’re focusing on ‘Delete View’ which should be located at the very bottom of the menu.
Once you’re there, click on it.
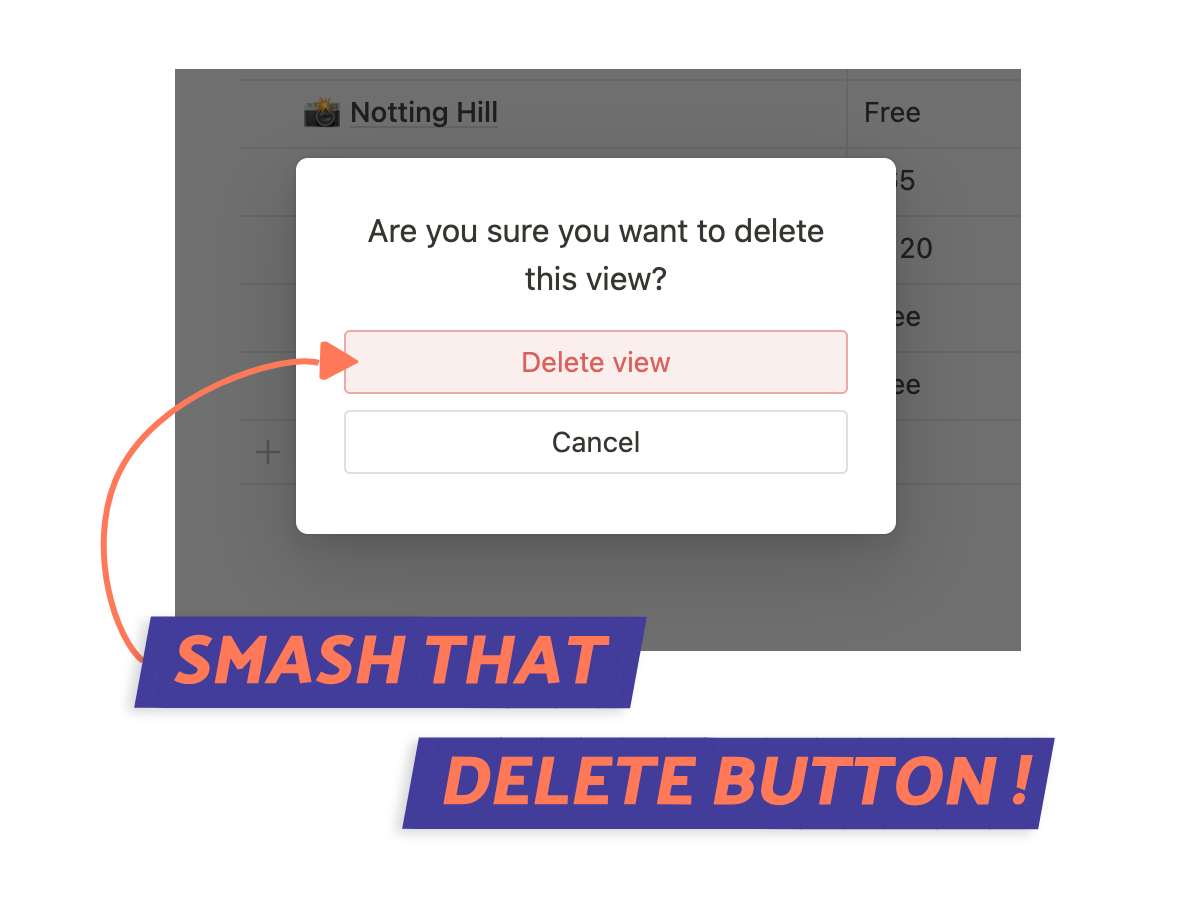
Step 4: Confirm Deletion
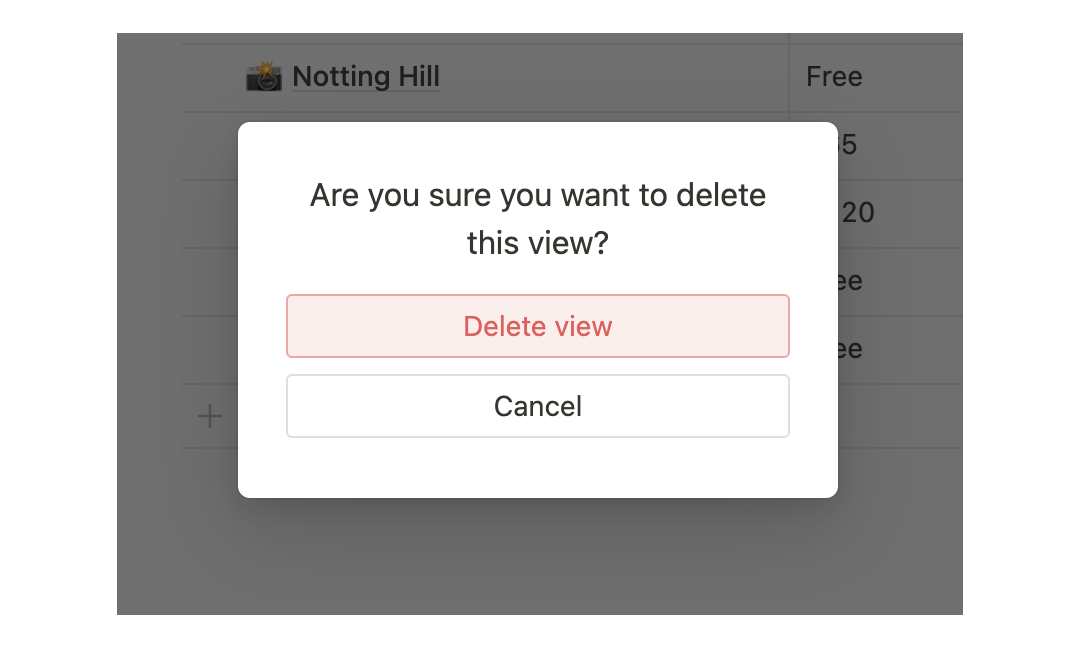
You’re almost done! A pop-up window is going to show up, asking you to confirm the deletion. So, without any hesitation, click ‘Delete’.
That’s all there is to it. You’ve successfully deleted your Notion In-Line database.
HOW-TO: Turn Your In-Line Database Into A Full-Page Database
How to Delete Full-Page Notion Databases
Step 1: Find Page
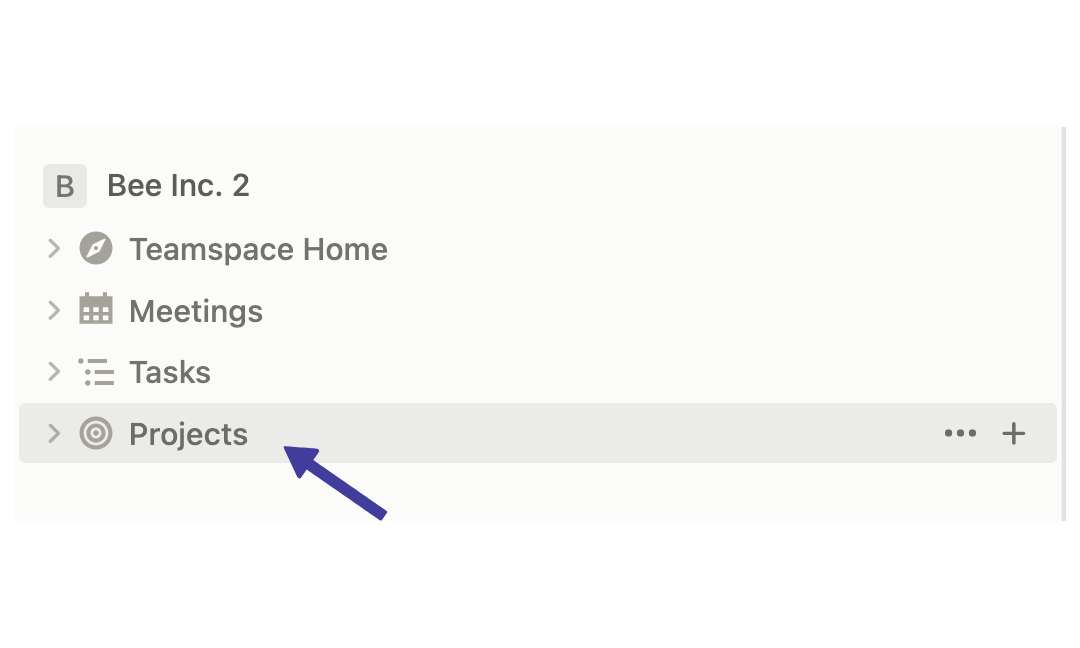
Let’s begin by finding the full-page database you wish to delete. Look for it in Notion’s sidebar within your workspace. Once located, load the database to make sure it’s the right one.
Step 2: Edit Page
Once you’ve verified it’s the correct database, head back to the sidebar where the database is located.
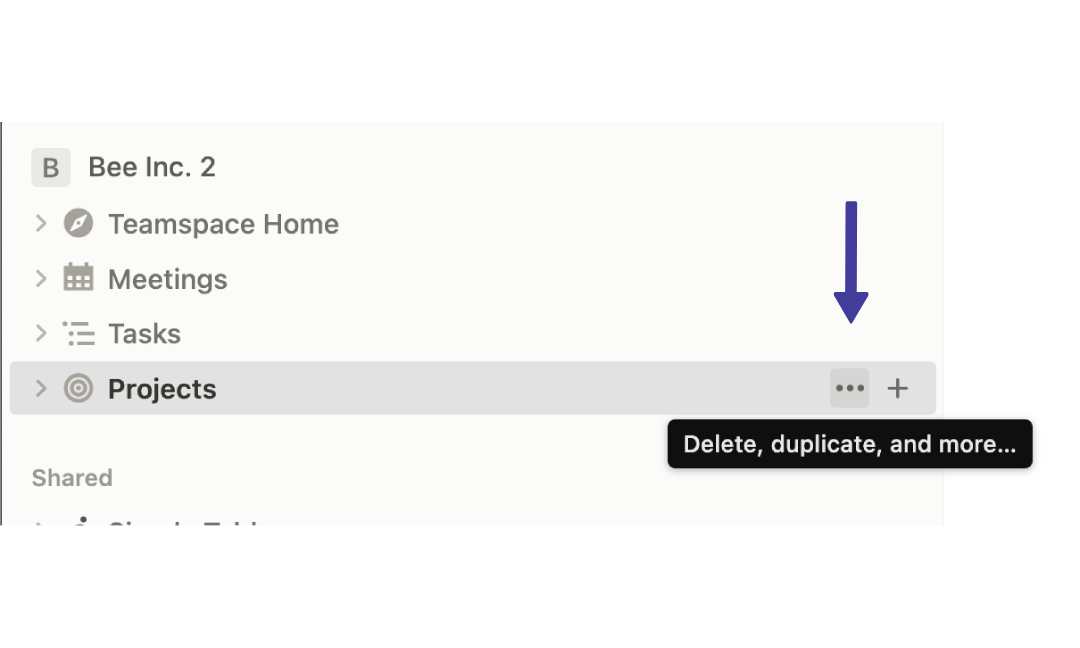
Hover over the database and look for the ‘…’ icon in the top-right corner. Click it. This grants you access to edit mode for the page.
Step 3: Delete Database
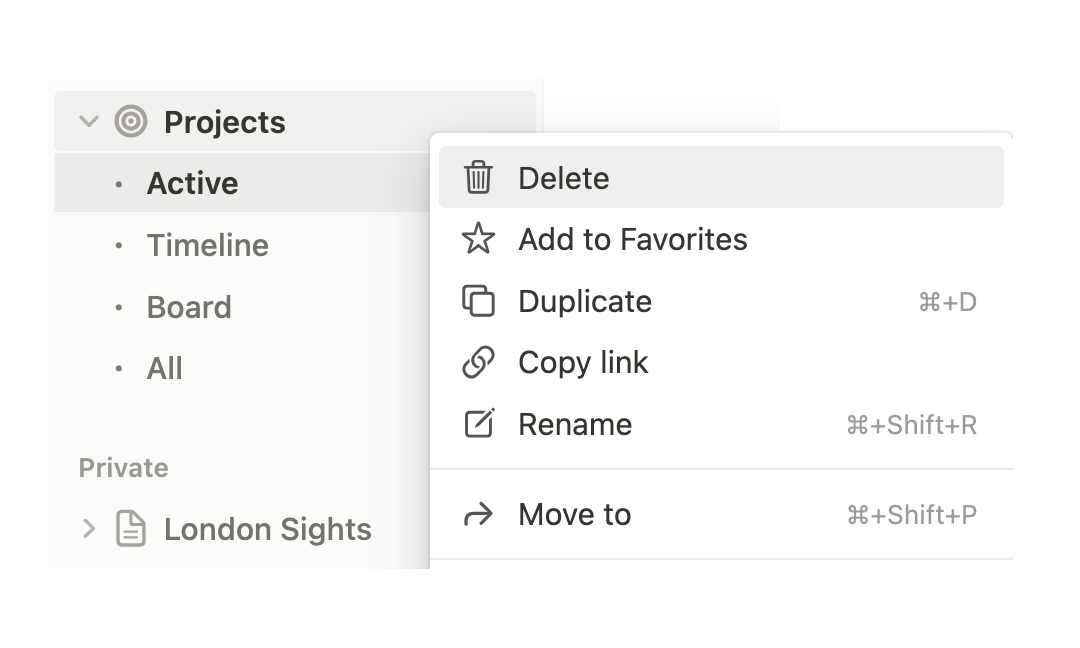
In edit mode, a range of options will appear. Unlike deleting an in-line database, you’ll select ‘Delete’ from the drop-down menu, not ‘Delete View’.
Confirm your choice by clicking ‘Delete’ in the pop-up window. The full-page database is gone.
Restoring A Database After Deletion
Oh boy, I know that sinking feeling when you realize you’ve deleted your Notion database. Been there, done that. But, I’ve got some good news.
I’ve figured out a simple, step-by-step process to get it back. So, if you’ve goofed up like I did, this guide is just what you need.
1. Go To ‘Trash’
First up, head over to the ‘Trash’ section in Notion. You’ll find it tucked away at the bottom left of your workspace. Consider it a safety net, safeguarding all your deleted items from permanent loss.
2. Locate Deleted Database
Your next task is to locate your misplaced Notion database.
Patiently sift through the discarded items until you identify your Notion database, which should be recognizable by its name.
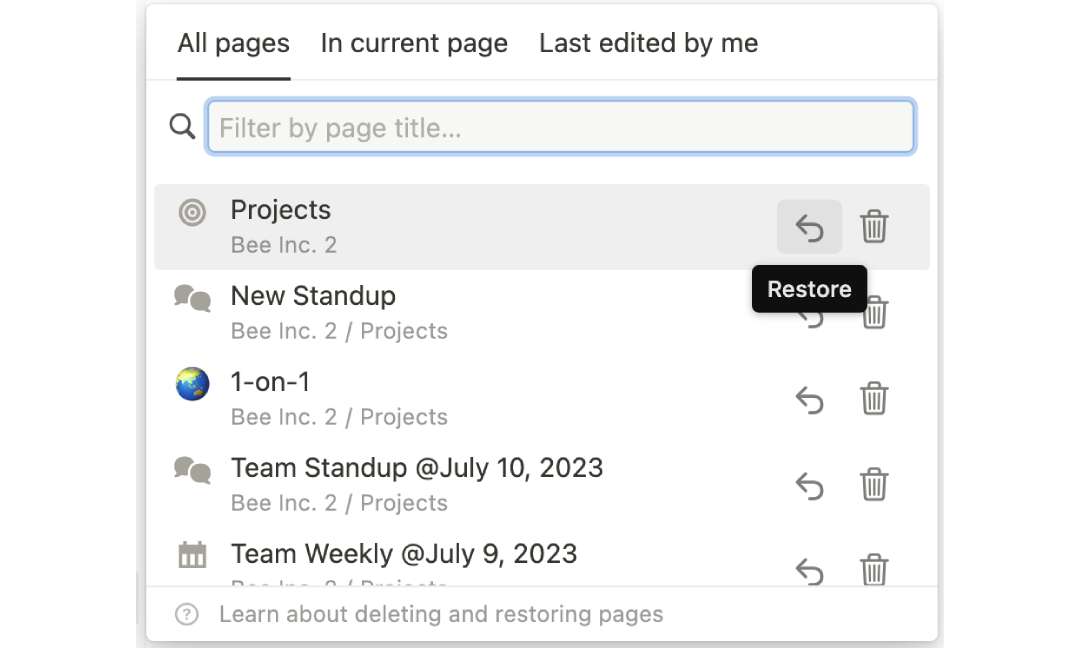
3. Find The Restore Function
Now look for the ‘Restore’ button. You should find it right next to your database appearing as a left arrow button. You’ll find it nestled next to the trash icon.
4. Choose Restore
Lastly, hit that ‘Restore’ button to bring your Notion database back from the dead. It’ll pop right back into your workspace, along with all its pages and blocks.
And just like that, your database is reinstated to its original location, as pristine as ever.
Alternatives To Deleting
Not ready to let go of your database? If you find yourself needing to clean up your workspace but not willing to delete anything, consider alternatives such as reorganizing the existing setup.
I’m going to share three hacks to help you manage clutter without wiping your Notion database.
‘Archiving’ The Data
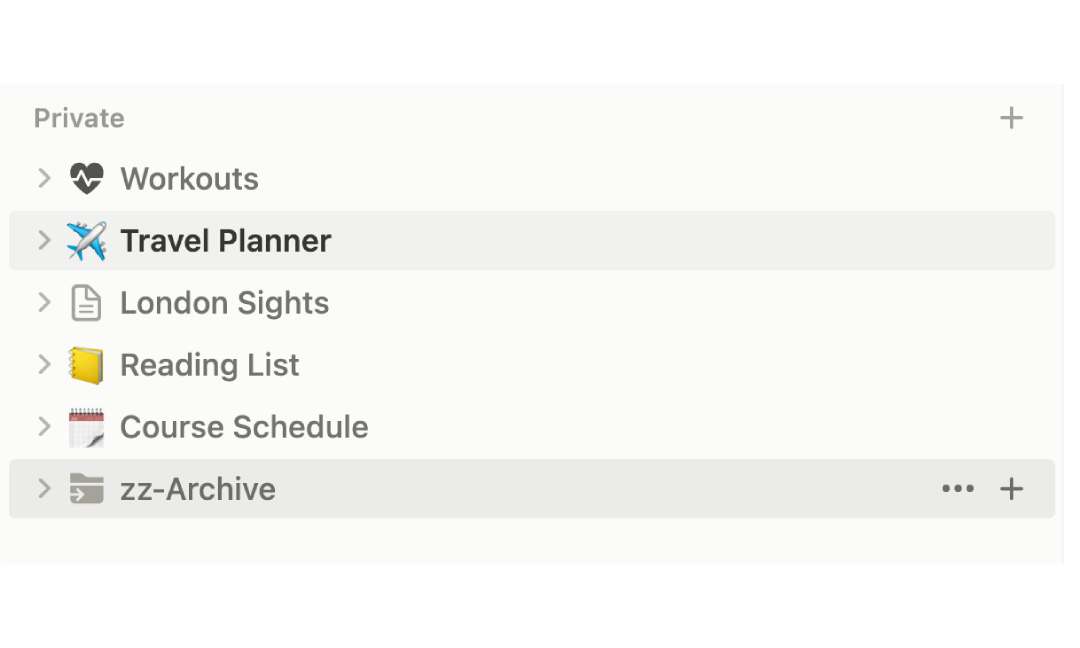
One neat trick I’ve picked up is creating an “Archive” folder in the Notion database. Notion doesn’t have a built-in archive function, but that doesn’t mean you can’t make your own.
Just move the databases you’re not using to this Archive folder. This way, your main workspace stays tidy, your data stays safe, and you don’t lose anything important.
And hey, your workspace looks cleaner, too!
Exporting The Data
Another practical choice instead of deleting Notion databases is to simply export the data.
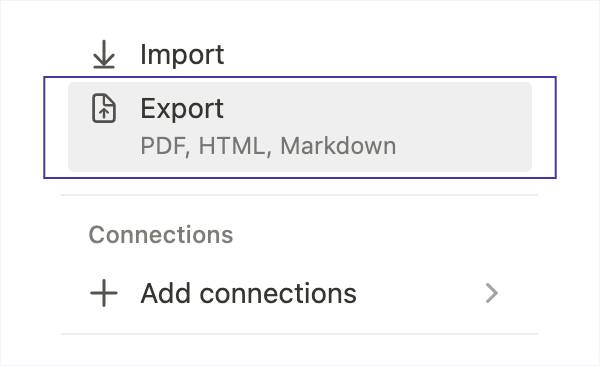
Notion gives you the option to export whole databases or just specific pages. You can safely store this data in easily accessible formats like PDF, HTML, or Markdown. (1)
Here’s how I do it: just click on the three dots in the top-right corner of the page, select ‘Export’, and choose your preferred format. After that, I usually save it to my external hard drive for safekeeping.
HOW-TO: Export & Print Your A4 Pages
Hiding It
Our last option is to hide your Notion database.
If you think you might need the database in the future, just tuck it away instead of deleting it.
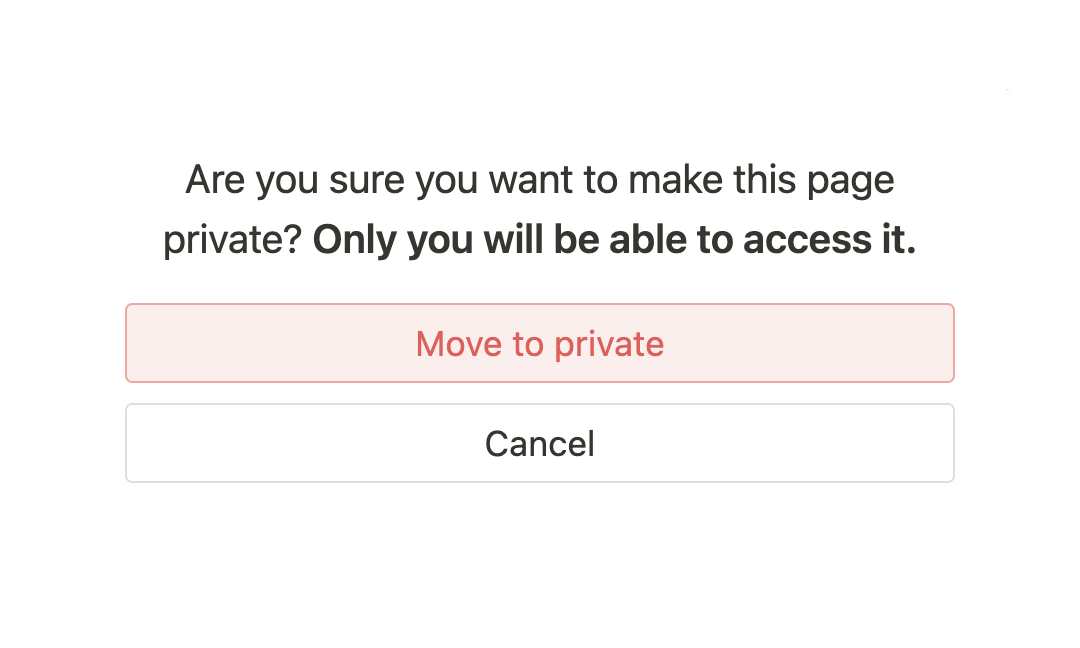
You can move it into a less frequented area of your workspace, or even into your private space. But remember, if you move it to your private space, others might lose access.
Wrapping It Up
Understanding how to delete a database in Notion safely is pretty crucial. Whether deleting, restoring, or reorganizing, it’s important to consider the implications.
With alternatives like archiving, exporting, or hiding data, you can maintain a tidy workspace without losing valuable information.
Now, you’re equipped to handle your Notion databases safely and efficiently. Happy organizing!
Before writing an article, we carefully research each topic and only share information from reputable sources and trusted publications. Here is a list of the sources used in this article: