Notion is a free organizational tool that helps manage your day-to-day needs. Personal or professional, it’s easy for any user to print a Notion A4 page.
What We’ll Cover
Setting Up Pages In Notion
If you are like me and familiar with using Google Docs & Word, you will quickly realize the lack of page formatting options in Notion.
There are limited settings; to expand the text on your page or minimize it and 3 styles of fonts.
However, this does not make it impossible to print in A4 format.
Can You Print Notion Pages?
And, we have little control over the print layout options, which includes creating Notion page breaks.
The good news is, there are options to choose A4 page formatting in PDF.
So, How Do You Print A Notion A4 Page?
I have 3 methods to help you work around this problem and print a Notion A4 page.
The average person will prefer to export or print the web page from the browser. However, an experienced coder will find the HTML hybrid option equally helpful.
OPTION 1: Export To PDF
This first option is an easy one for Notion users. I recommend this option for users with a clean and simple layout.
Even though users cannot format their Notion documents, Notion does transfer all its creative features onto PDFs.
Step 1: Click the topbar
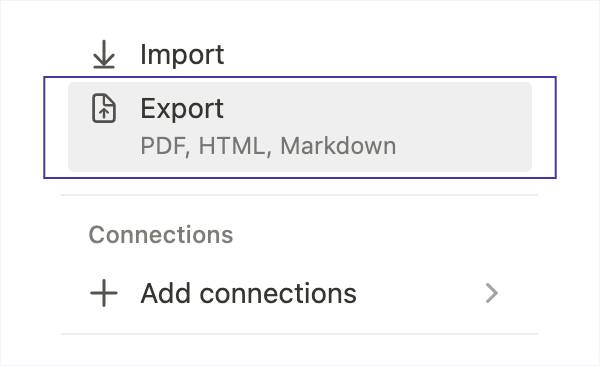
Whether in the app or the web version, in the top right-hand corner, you’ll see three horizontal dots. Click on them.
Scroll through the drop-down selection and select “Export”.
Step 2: Choose PDF format
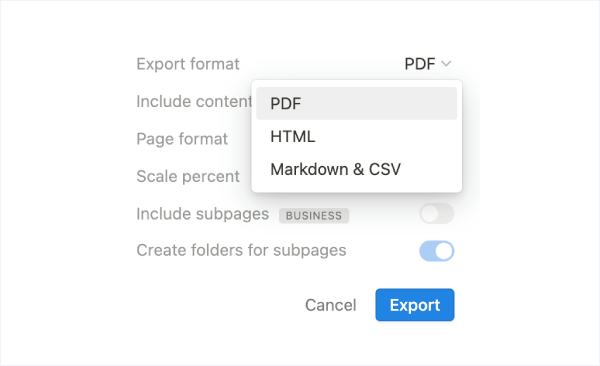
After selecting “Export”, a small window will pop up with options.
At the top of the page, you will see an option called “Export Format”. Select the drop-down and click PDF.
Step 3: Select A4 page format & export
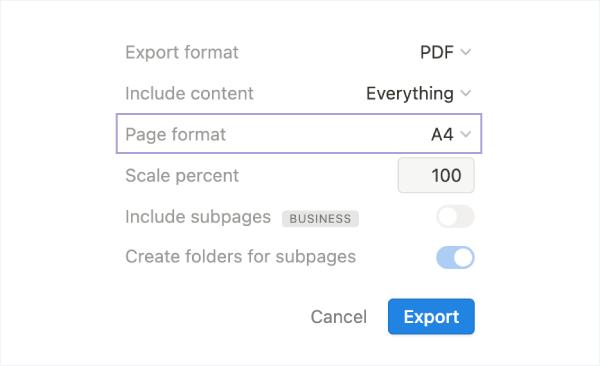
Explore the export options. Choose what is relevant to you.
Most importantly, before exporting your file, make sure to click the drop-down “Page Format” and select A4.
OPTION 2: Print As Web Page
This is a common method for websites or apps that don’t come with printing support.
Notion recommends this option as a good alternative to exporting. This option leaves room for minor formatting and is great for images like charts and tables.
Step 1: Select ‘Print’
There are two options for getting the printing process started:
One way is to select the three vertical dots on the right-hand corner of your browser screen. Select “Print” from the drop-down menu.
The second method is to use keyboard shortcuts. See below.
Use Command + P (for Mac) or Ctrl + P (for Windows)Step 2: Choose ‘A4’
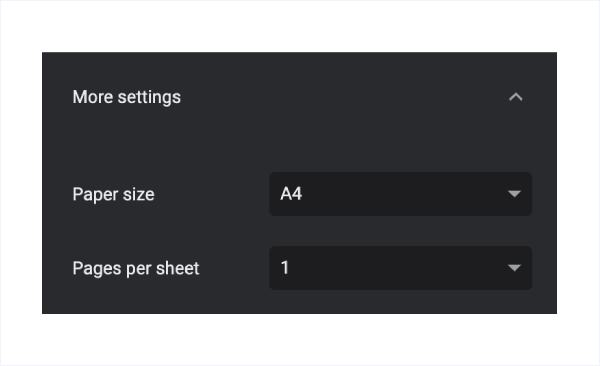
After your printing options pop up, click the drop-down “More Settings”.
Scroll down to “Paper Size” and select A4 from the drop-down options.
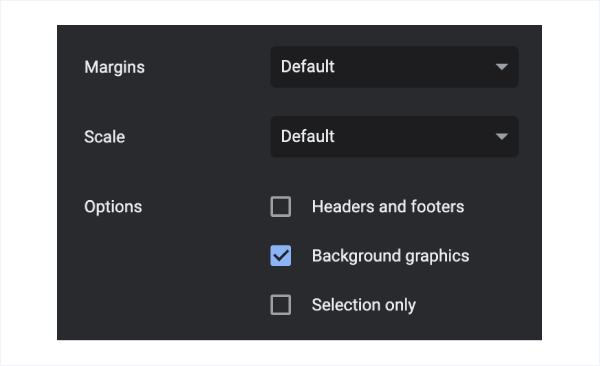
Step 3: Play around with other options
Change the additional options to match your preferences. Add extra pages per sheet. Increase or minimize your margins or the scale of your page.
Make sure to deselect “Headers and Footers” to avoid unwanted details like URLs or dates.
Step 4: Print
Again, based on your personal preferences, you can either print to a PDF and save your Notion pages first. Or go right ahead and print.
OPTION 3: Hybrid With Notion Page Break (for advanced users)
This option requires advanced skills for people who know HTML and want to insert Notion page breaks.
For beginners who want to attempt this advanced method and don’t have HTML knowledge, follow along carefully.
Step 1: Use Notion’s ‘Export’ feature
Follow the steps in Option 1 to export your Notion page but instead of exporting as a PDF, choose HTML instead.
A zipped folder will be downloaded.
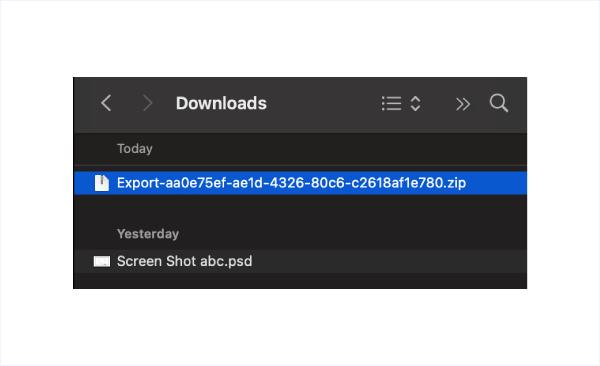
Step 2: Launch .html file
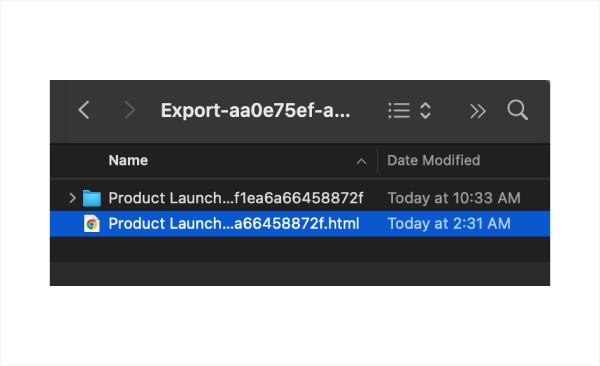
Access your HTML file by unzipping the folder.
Based on your settings the file will either open as a webpage in your browser or your code editor. Make sure to open it in a browser.
Right-click on the file, select “open with” and choose a web browser.
Step 3: Pick where to insert page break
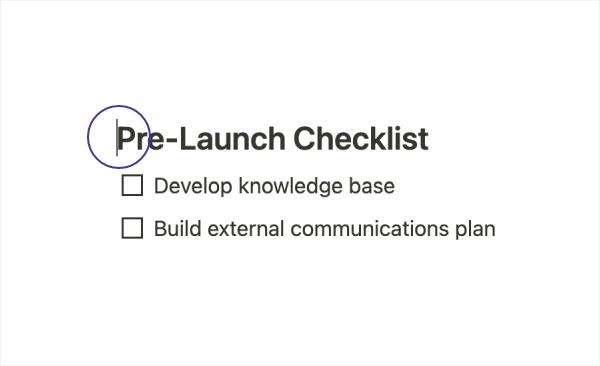
Select the line of text where you want your page break to appear and place your cursor there. Note that the page break will appear above this line of text.
As an example, I will use screenshots of the “Pre-Launch Checklist” title as a demonstration below.
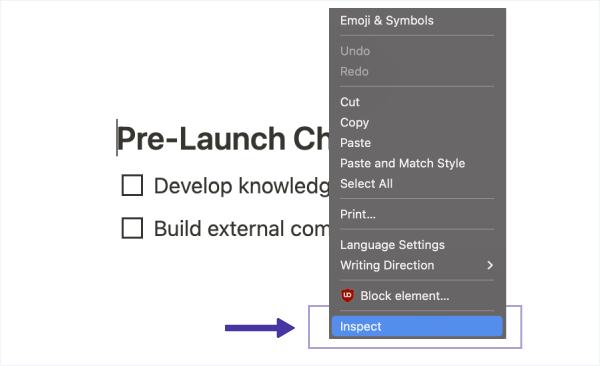
Step 4: Launch browser’s inspector
After selecting the desired area, right-click on the text and select “Inspect.” You will see a window pop-up on the right-hand side of your screen displaying HTML code.
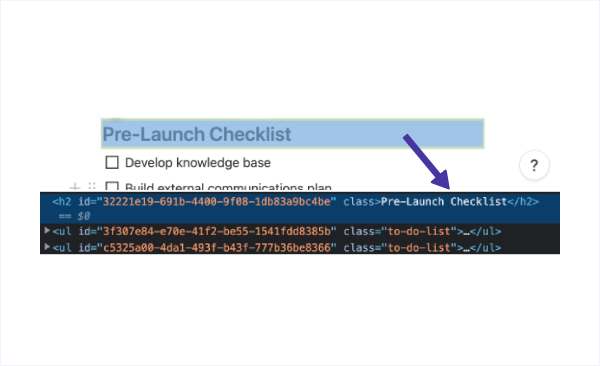
Step 5: Prepare to edit the HTML
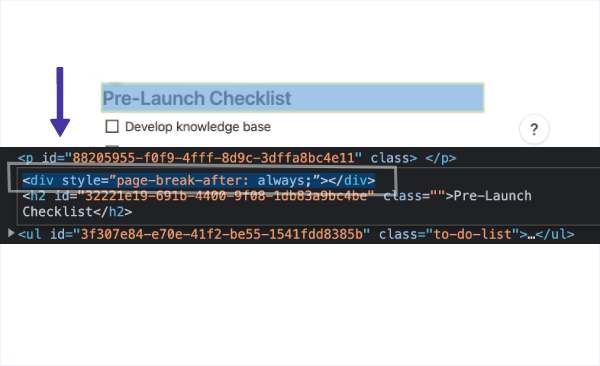
Because I selected the exact line of text where I want to add my page break, the HTML page has highlighted the exact line of code I want to edit.
Right-click on the highlighted code. Select “Edit as HTML”. See screenshot below for clarification.
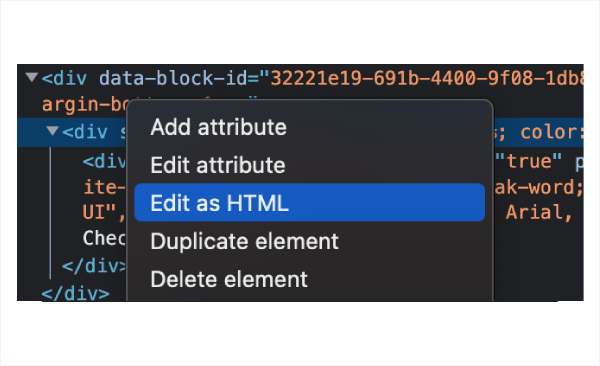
Step 6: Place a simple line of code
Copy and paste the line of code below and hit enter.
<div style="page-break-after: always;"></div>Keep an eye on your text and click anywhere outside the lightly lined box around your code. You will see your text move down an inch. This is your page break.
Step 7: Print as web page
Close your Inspector and proceed with the steps in Option 2.
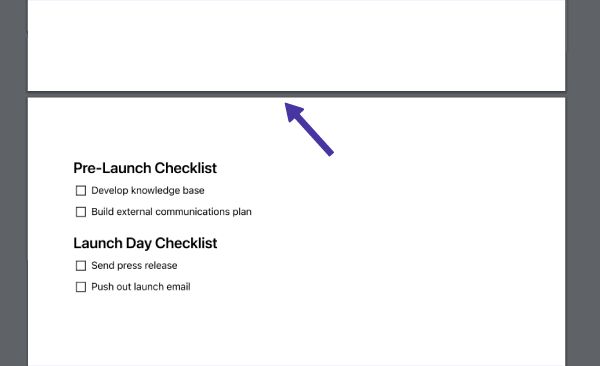
Unlike on your webpage, in the print preview, you will see a fully formed page break.
Continue following the steps in Option 2. Make sure to select A4 in your print settings.
Conclusion
We know that the easiest methods for printing a Notion A4 page are Options 1 and 2.
However, I equally recommend the Hybrid method. It provides users with more formatting flexibility.
Each method has its perks and drawbacks.